GitHub Projects Embed | FixIt
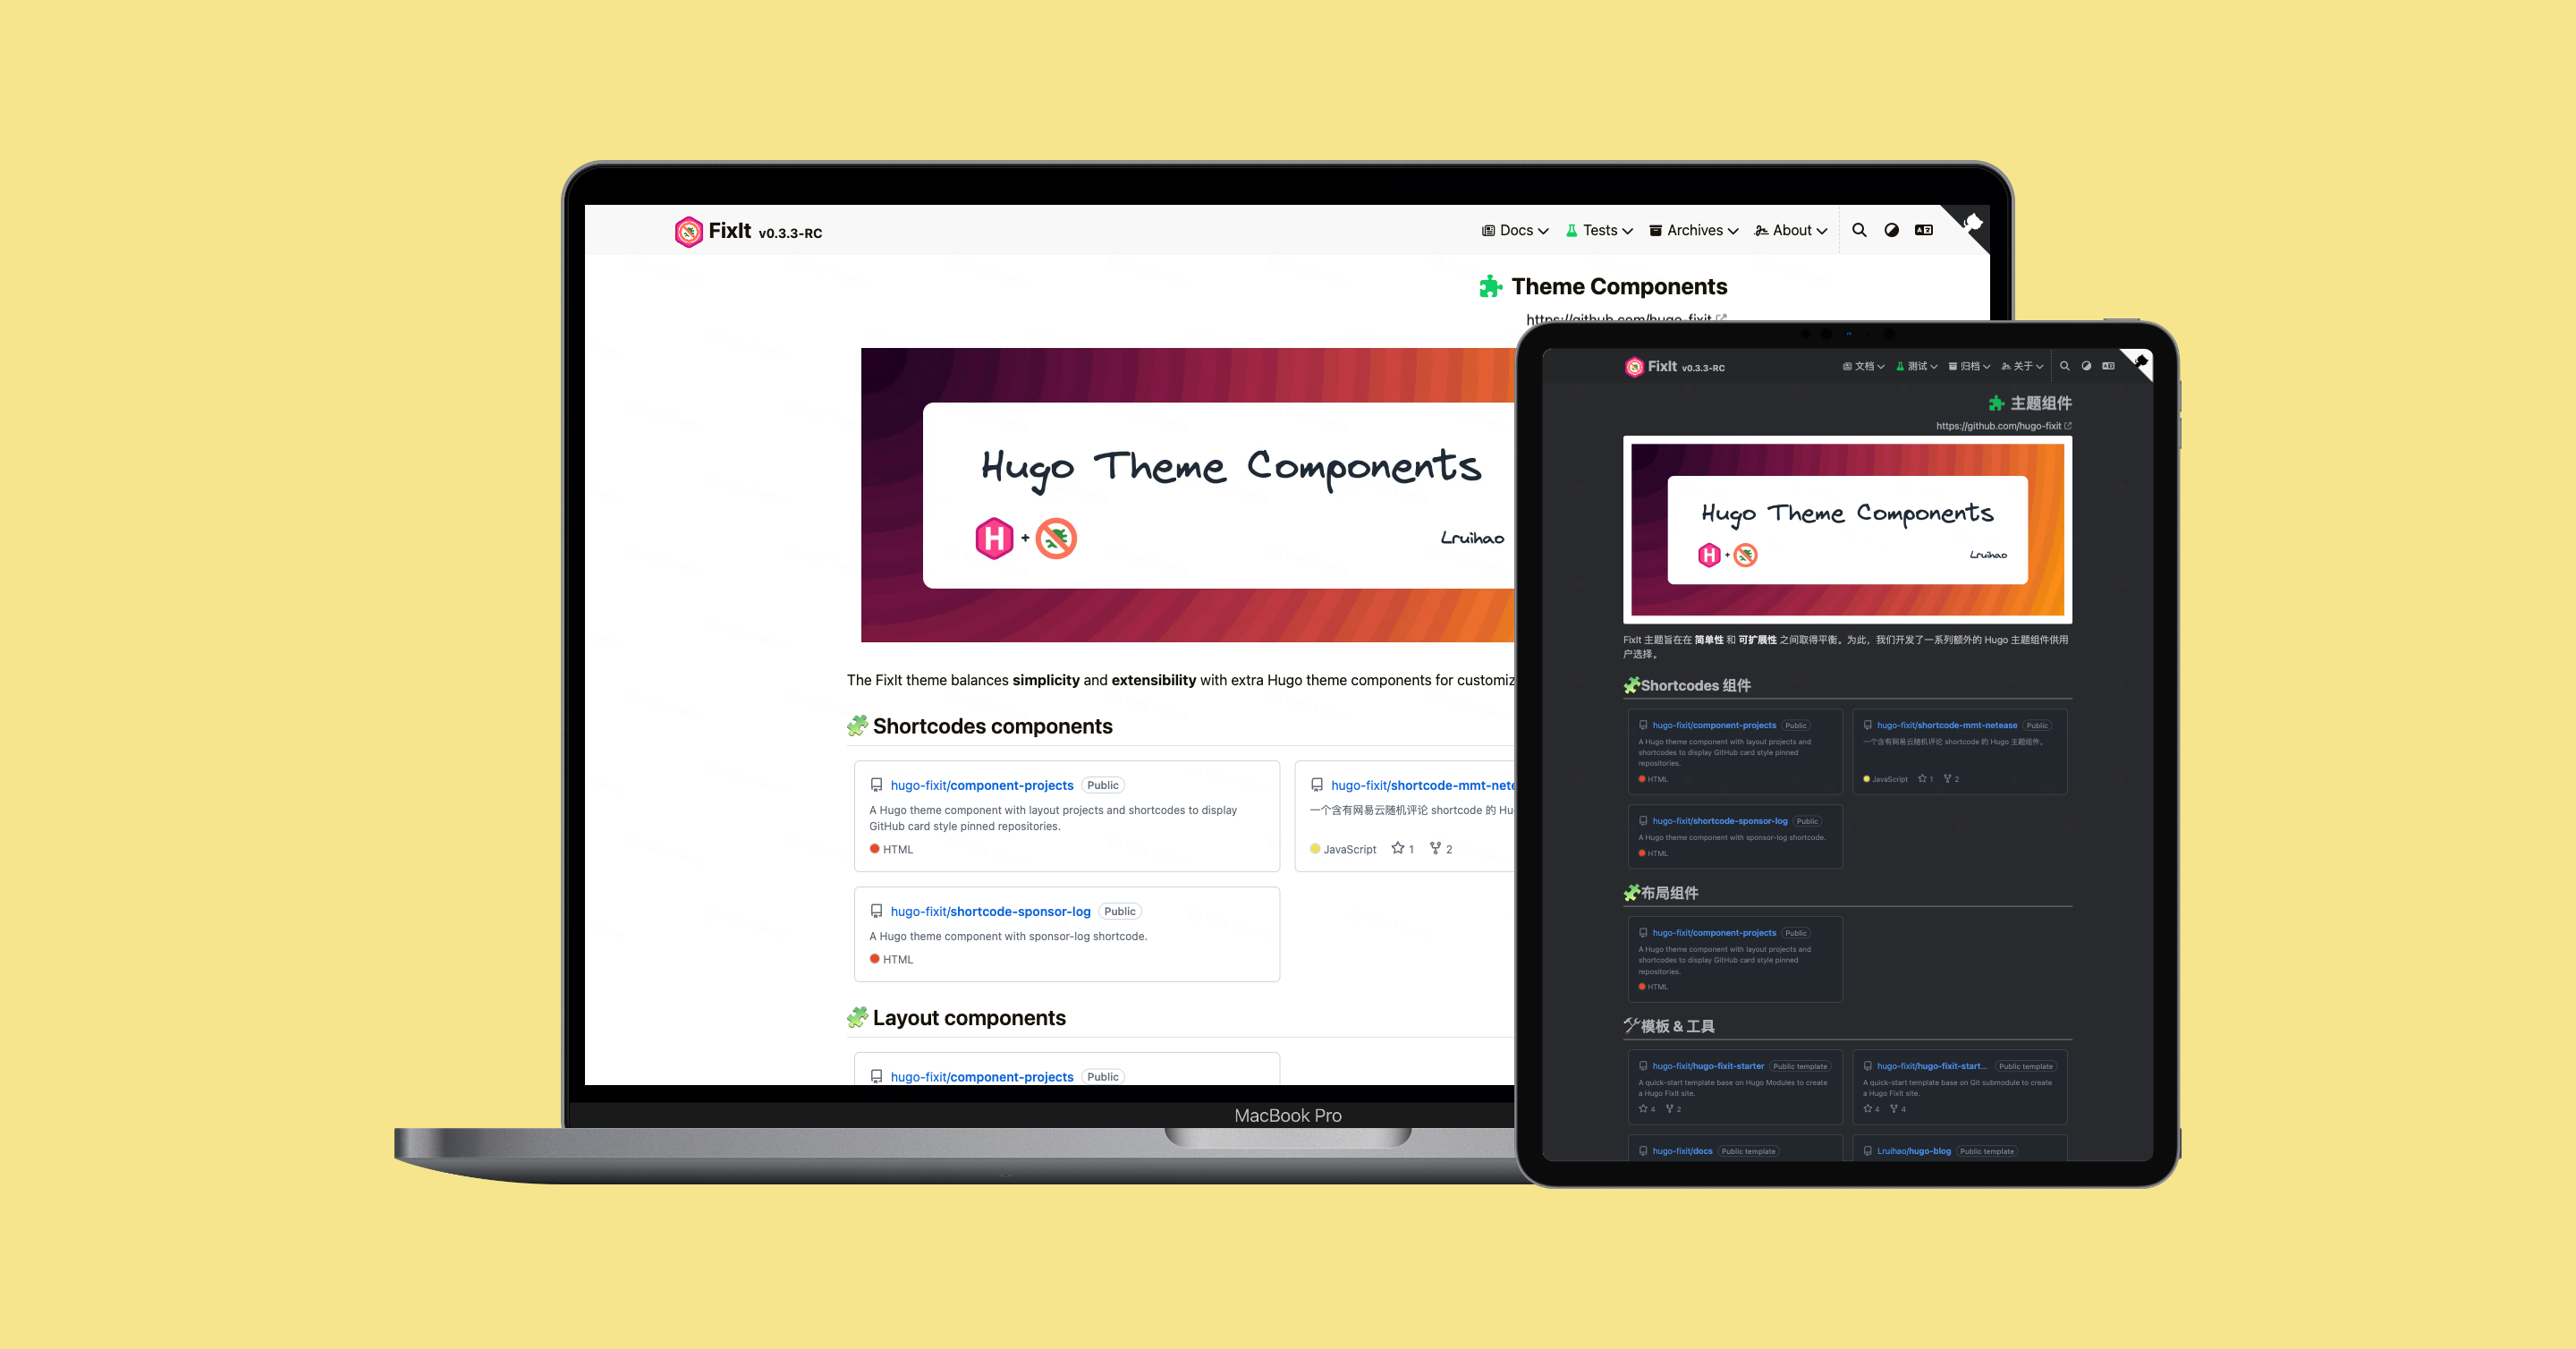
Demo
Features
- Support GitHub project cards display (
layout or shortcodes) - Support generating blog posts from README (
content adapter)
Requirements
Installation
The installation method is the same as installing a theme. There are several ways to install, choose one.
Install as Hugo Module
First make sure that your project itself is a Hugo module.
Then add this theme component to your hugo.toml configuration file:
1
2
3
4
5
6
7
| [module]
[[module.imports]]
path = "github.com/hugo-fixit/FixIt"
[[module.imports]]
path = "github.com/hugo-fixit/component-projects/v2"
|
On the first start of Hugo it will download the required files.
To update to the latest version of the module run:
1
2
| hugo mod get -u
hugo mod tidy
|
Install as Git Submodule
Clone FixIt and this git repository into your theme folder and add it as submodules of your website directory.
1
2
| git submodule add https://github.com/hugo-fixit/FixIt.git themes/FixIt
git submodule add https://github.com/hugo-fixit/component-projects.git themes/component-projects
|
Next edit hugo.toml of your project and add this theme component to your themes:
1
| theme = ["FixIt", "component-projects"]
|
Configuration
Finally, in order to Inject the partial {component-projects}.html into the custom-assets through the custom block opened by the FixIt theme in the layouts/_partials/custom.html file, you need to fill in the following necessary configurations:
1
2
3
4
5
6
| [params]
[params.custom_partials]
# ... other partials
assets = [ "inject/component-projects.html" ]
# ... other partials
|
Access Token (Optional)
Obtaining repositories information relies on GitHub official API. Before starting to use it, it is recommended to generate personal access token on GitHub to prevent GitHub API usage limit.
- Click to jump to GitHub Generate token, select the scope named
public_repo to generate personal access token. - Configure with environment variable
HUGO_PARAMS_GHTOKEN=your-person-access-token, see details in os.Getenv | Hugo
Usage
Layout
First, create the projects.yml file and edit your data:
1
| cp themes/component-projects/data/projects.example.yml data/projects.yml
|
If your site is multilingual, you can create a projects.en.yml file for English and projects.zh-cn.yml for Chinese.
Next, create a new page with the projects layout:
1
| hugo new projects/_index.md
|
Edit the front matter and content of the new page:
 1
 2
 3
 4
 5
 6
 7
 8
 9
10
| ---
title: My Projects
titleIcon: fa-solid fa-laptop-code
subtitle: <https://github.com/Lruihao>
sectionSlot: Some text to display in the section slot which is above the related articles list.
hidden_adapters: false
layout: projects
---
Some text to display at the start of the page.
|
Shortcodes
Use the gh-repo-card-container and gh-repo-card shortcodes in any page to display a GitHub repository card:
1
2
3
4
| {{< gh-repo-card-container >}}
{{< gh-repo-card repo="hugo-fixit/component-projects" >}}
{{< gh-repo-card repo="Lruihao/hugo-blog" >}}
{{< /gh-repo-card-container >}}
|
Content Adapter
🎉 This is a awesome feature! It can generate blog posts from the README of the repositories according to the projects data you configured.
Create _content.gotmpl in projects section folder, add the following code:
1
| {{- partial "adapters/projects.html" . -}}
|
Directory structure:
1
2
3
4
5
6
| content/
├── projects/
│ ├── _content.gotmpl <-- content adapter
│ └── _index.md <-- layout: projects
data/
└── projects.yml <-- projects data
|
Then, open the hugo.toml file and configure the projects_adapters option to enable the content adapter:
 1
 2
 3
 4
 5
 6
 7
 8
 9
10
11
12
| [params]
[params.projects_adapters]
enable = true
only_public = true
categories = []
collections = []
ignore_list = []
[params.projects_adapters.params]
hidden_from_home_page = true
# more font matter here ...
|
Custom Blocks
You can implement these blocks through define.
| Block Name | Description |
|---|
projects-aside | Displayed in the aside of the projects page |
projects-meta | Displayed in the post meta of the projects page |
projects-footer | Displayed in the post footer of the projects page |
Scheduled tasks
Since it uses server-side rendering, all data is fetched at build time and not requested from the GitHub API on each visit. To keep data up to date, this component provides a cache-projects.yml GitHub Action workflow template that periodically pre-caches project data into data/caches/projects.json. Hugo will read from the cache at build time, significantly reducing build times.
Set up scheduled caching
Copy the workflow template to your site repository:
1
| cp themes/component-projects/.github/workflows/cache-projects.yml .github/workflows/cache-projects.yml
|
This workflow runs automatically at 00:00 UTC daily and can also be triggered manually. It extracts all repos from data/projects*.yml, fetches repo info and README content via the GitHub API, and writes the results to data/caches/projects.json.
After the first run, data/caches/projects.json will be generated and committed to the repository. Subsequent Hugo builds will read directly from the cache file instead of making individual GitHub API requests. Committing the cache file will automatically trigger your site’s deployment workflow — no extra configuration needed.
Troubleshooting
You can add the --ignoreCache parameter to the hugo server command to clear the cache in local server.
 FixItTheme for Hugo